

Written by RAXTiFY’s automotive film team, with over 10 years of practical experience working with vinyl wraps, PPF materials, and professional installers nationwide.
How Hard Is It to Vinyl Wrap a Car Yourself?
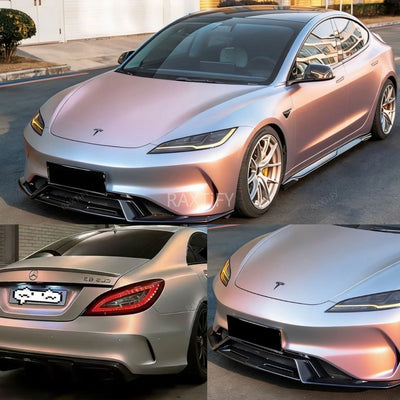
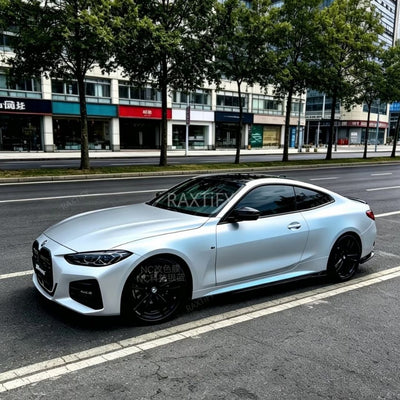
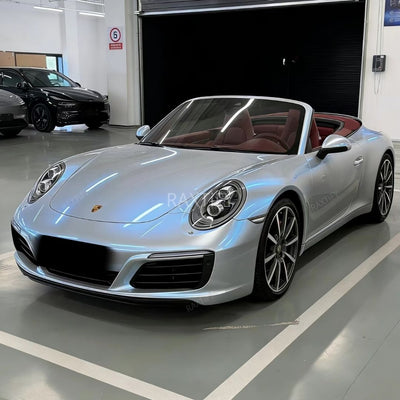
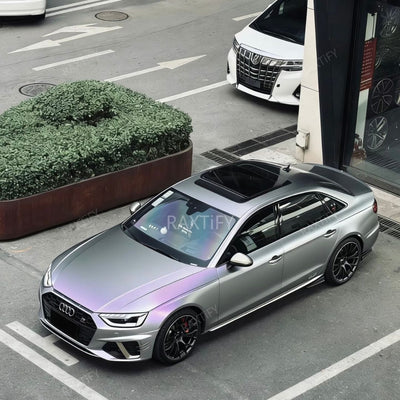
Vinyl wrapping has been known to be one of the most widespread means of altering the look of your car- without spending a permanent paint job or spending thousands of your money in a body shop. However, new car customization and wrapping has a whole new world, you may be asking yourself: How difficult is it to vinyl wrap a car yourself?
The short answer? It is certainly possible- only you need to be patient, have the correct tools and a little technique. This is a novice-friendly tutorial that will take you through all you need to know before you attempt a DIY car wrap which includes:
- What is so hard about wrapping (and how to prevent a few pitfalls)?
- Breakdown of the wrapping in steps.
- Pro tips on how to make your first wrap job a success.
- It pays to do some jobs on your own--when and when not to get a professional.
At the end, you will have a clear understanding of what it is like to wrap your own automobile and whether or not it is the right project to undertake.
What Influences the Difficulty of DIY Vinyl Wrapping?
Car wraps are not all created equal, and so are wrap jobs. There are quite a number of issues that influence the difficulty in the application of a vinyl wrap yourself, particularly when it is the first time. Let us divide them one by one.
Your Experience and Hand Skills
One of the things to take into consideration is that you are likely to have a learning curve in the event you have never installed a wrap before. Car wrappings take time, carefulness, and stable hands particularly when dealing with curvy surfaces or folds. New users tend to have trouble with such problems as air bubbles, overstretching the vinyl, or mismatched seams, however, the good news is that with practice, the skills can be developed in a short period.
Tools, Workspace, and Conditions
It is a huge difference when it comes to the right tools:
- A quality squeegee
- A sharp utility knife
- A heat gun or torch
- Wrap magnets or gloves
It is also important to have a clean, indoor and well-lit workspace. Application may be interfered by dust, wind or direct sunlight resulting in premature adhesion or contamination under the film
Car Body Complexity (Curves, Edges, Trim)
Some vehicles are simply harder to wrap than others. Cars with:
- Deep body lines
- Flared fenders
- Complex bumpers
- Badges, trim, or roof racks
…will require longer and more competence to cover cleanly. In case your car has a lot of curves or violent design characteristics, you should be ready to devote more hours to the thorough process of stretching and placing the vinyl.
Material Quality (Vinyl Type, Stretchability)
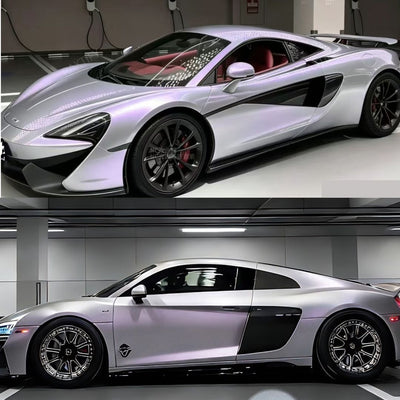
All vinyl is not as easy to work with. Vinyl films used in the wraps in RAXTiFY are high-end materials such as premium cast, more flexible, durable and forgiving compared to the low-cost options.
Look for films with:
- Air-release (to exclude bubbles) technology.
- Good stretchability and is not distorted.
- Second chance adhesive that is repositional.
If you're using a low-grade film, even a simple wrap job can feel ten times harder.
Surface Prep and Cleanliness
This is among the least followed steps. Your car's surface must be:
- 100% clean (no dirt, wax, or oil)
- Smooth and dry
- No rust, no paint chips or spots
Vinyl will fail to adhesive when not well prepared, particularly at edges and curves. Wash with isopropyl alcohol and clay bars before beginning.
Temperature & Environmental Factors
Your wrap can or can break temperature. In the cold environment, vinyl is hard to use and in the hot environment it is too stretchy and this can cause mistakes in its use.
Ideal working temperatures are between 65–75°F (18–24°C). Avoid wrapping in:
- Direct sunlight
- High humidity
- Outdoor environments with dust or wind
When in hot or cold weather, it is important to regulate the temperature of the workplace so that you achieve the best work.
How to Vinyl Wrap a car as an amateur?
It might seem that wrapping a car by your own is a daunting task, however, it becomes a lot simpler when you do it step-by-step. The following is a basic step by step guide all beginners can use:

Step 1 - Cleaning the Surface of your Car.
Begin with a clean smooth base. Clean your car to get rid of dirt and dust or wax. Any residue that is left over can create bubbles or make the vinyl not adhere well to the surface. Wipe the surface with an alcohol cleaner in a final wipe-down, and have the surface thoroughly dry before proceeding to the next step.
Step 2 -Vinyl Measuring and Cutting.
Measure your car in parts and cut some vinyl sheet that is a little bigger than the part you want covered. The additional inches provide you with space to fiddle with and minimise the possibility of falling short. New users will also be more comfortable building without having to deal with the complete car at first; they can start with a smaller part such as the hood or mirrors.
Step 3 -Applying and Stretching the Film.
Unpeel the backing of the vinyl and place it in place. Clean it with a squeegee pushing it toward curves and edges. Turn the work slowly to prevent trapping air bubbles. In your first project, gloss and satin wraps are strongly suggested, these are easier to reposition, more forgiving and less likely to reveal small mistakes as compared to chrome and textured finishes.
Step 4 Edges Trimming and Finishing.
When the vinyl is flat, cut the excess away using a sharp utility knife. Take a good tuck around door handles, mirrors and trim to create a smooth appearance. It is all in patience here between a professional-looking wrap and a sloppy one.
Step 5 -Post-Installation Maintenance (Heating, Smoothing, Curing)
The last step is heating of the vinyl with a heat gun. This makes the film adhere to curves and enables its adhesive to perform in the long-term. Once more smooth down the edges and allow the wrap to dry at least 24 hours before washing or exposing it to harsh weather conditions.
Common Beginner Mistakes to Avoid
Car wrapping is an easy task to perform on the first attempt, but it is easy to make several pitfalls which might make the final appearance of the car look bad or cut the life of the wrap. These are some of the errors that you should avoid at any cost in order to save time and money:

1. Skipping Proper Surface Cleaning
Most novices hurry the cleaning process. Even small dust particles, residue of wax or grease may lead to bubbles and lack of adhesion. It is always good to thoroughly clean and wipe with an alcohol pad before laying down the film.
2. Overstretching the Vinyl
When adhering to curves, the urge to overstretch the vinyl is tempting, yet it is because of curves that thin the tape resulting in a weakened colour and longevity. Instead gently apply even heat so that the vinyl becomes more flexible.
3. Trapping Air Bubbles
One of the beginner issues is the air pockets. They do not only appear unprofessional, but may also cause peeling. Apply sparsely with a squeegee in the middle and move outwards forcing air out.
4. Cutting Too Aggressively
Excessive pressure on the knife will scratch your paint. A sharp blade should always be used and angled a little out of the surface. In the case of a beginner, edge-sealing tape or knifeless tape may be used in order to minimize risks.
5. Ignoring Temperature and Environment
Working in a dusty garage or on a cold day to install vinyl wrap can be a lot more difficult. Preferably, one should work indoors at approximately 70 o C (21 o C) and with little dust as well as wind.
6. Choosing the Wrong Film Type
Glossy chrome or texture films can be amazing, however they are not easy to beginners. Begin with gloss or satin wraps, which are less strict and can be repositioned more easily when installing.
Pro Tip: A majority of novices fail not due to lack of ability, but to the fact that they do not assess the preparation and surroundings. Take your time during the cleaning and set up process- this is what he makes wrapping so much easier.
Common Challenges When Wrapping a Car
Vinyl wrapping has its own obstacles, even when one has the right tools and techniques. Being aware of what to expect will enable you to plan in advance and not to be frustrated:
Complicated Shapes and Curves
Several modern cars have sharp angles, deep grooves and complex curves. Bumpers, mirrors and door handles are particularly difficult to wrap around, and more heating and stretching is needed to accomplish a smooth section.
Large Surface Areas
Making large panels such as hoods, roofs or doors requires accuracy. Dealing with huge pieces of vinyl without a wrinkle or a crease can be intimidating to a beginner. The second set of hands come in handy most of the time.
Working Around Trim and Edges
Badges, rubber seals or chrome trim areas are challenging. You will have to tuck the vinyl under these seams or cut out the trim completely to have a smooth appearance.
Environmental Factors
Your results can be affected by temperature, humidity and dust. Cold, the vinyl gets stiff by too hot it gets overstretched. The film can trap even small dust particles trapped in the air.
Consistency Across the Vehicle
It is not as easy as it appears to maintain a consistent finish all over the car. The alignment of colors, tension of stretch and edge sealing should be constant so as to produce a professional wrap.
Pro Tip: It is best to begin with more simple sections (such as the hood or a roof) before taking on more complicated ones. When you are new, you would have to practice first with smaller pieces or accessories. The learning curve can also be lessened by using beginner friendly types of vinyl (like gloss or satin films).
How long does it take to wrap your car yourself with vinyl wraps?
The first time DIY installers do not take time commitment seriously. Whereas professional stores can complete a wrap in one or two days, a self-done project takes significantly longer.
To the average beginner it may require between 15 and 30 total hours, possibly over a number of days or even weekends to wrap a complete car. Such flat panels as hoods and doors might be easy to handle, but more complicated sections such as bumpers, mirrors, door handles, etc., can take hours in their own right
DIY or Professional Wrap: Which Is Right for You?
When it comes to a vinyl wrap, the choice of whether to install it yourself, or pay a professional installer is one of the largest. Each of them has obvious pros and cons depending on your financial means, abilities, and expectations.
Vinyl wrapping is not a perfect method to use in all cases. Professional installation can be a safer bet with a leased vehicle, a freshly painted vehicle or a vehicle that is of high value. The same can be said in case you are working with chrome, matte, or textured films in the first time because these are much less forgiving.
DIY Vinyl Wrapping
Pros:
- Less expensive: Additional savings of thousands of dollars by having only to pay the vinyl and basic tools.
- Flexibility: You are free to work at your own pace and repetition of those things that might be required.
- Learning experience: Good to automobile lovers who like practical projects.
- Freedom of customization: You are in charge of the process and may also experiment with colors or partial wraps
Cons:
- Learning curve: It is difficult to avoid such mistakes as bubbles, wrinkles, or uneven edges.
- Time-consuming A complete DIY wrap on a full car can take 1-3 days (or more inexperienced).
- Finish quality: It might not have the appearance of a professional finish.
- Limited warranty: DIY wraps do not usually have a guarantee of installation.
Professional Vinyl Wrapping
Pros:
- Perfect finish: Professional installers work with radius, edges, and trims perfectly.
- Time-saving: The majority of the shops will be able to complete a complete wrap in 1-2 days.
- Durability: Professional heating and side sealing enhance life.
Warranty: Peeling or bubbling: The guarantee is provided by many installers.
Cons:
- Higher price: Full wrap in the U.S. will cost between 2 500 and 6000 and above.
- Less control: You will have to leave the installer to his process.
- Time: May will need weeks to get an appointment with reputable shops
Bottom Line:
Choose DIY: When you are cost-conscious, have time, and want to know how it works (best when dealing with smaller projects such as roofs, hoods or spoilers). .
Choose Professional: In case of you wish to have the ideal finish, long lasting durability, and no hassle.
Pro Tip: If it’s your first time, try wrapping smaller sections with beginner-friendly gloss or satin wraps before committing to a full DIY project.
The Real Cost of DIY Mistakes
Wrapping vinyl is also cheap when done by yourself--but there is no guarantee of free mistakes. The panels can be misaligned, the vinyl overstressed, or have deep knife lines: these may indicate more than cosmetic problems.
In most instances, the solution to an error is not merely to patch it but to work out a replacement of the whole panel. This may entail ordering additional content or rereading parts several times to avoid.
Summary: DIY Vinyl Wrapping: Worth It?
And, that is why, it is so difficult to vinyl wrap a vehicle on your own? It is a matter of patience, preparation, and expectations. Vinyl wrapping is not an easy task, especially when a beginner is working with it: it is very difficult to work with curves, trimming, and working with bubbles, but it is possible with the correct equipment and a clean working area.
Car wrapping can be a very fulfilling and affordable endeavor especially when you start with easier panels and less advanced finishes such as gloss or satin. Nonetheless, it takes time, practice, and belief that errors can occur.
DIY wrapping can be worth it in case you appreciate learning, customization, and personal experience. Professional installation is the less risky option in case of perfect results or high-value cars.
Related Resources:
Best Vinyl Wrap Colors For All Cars