

Introduction
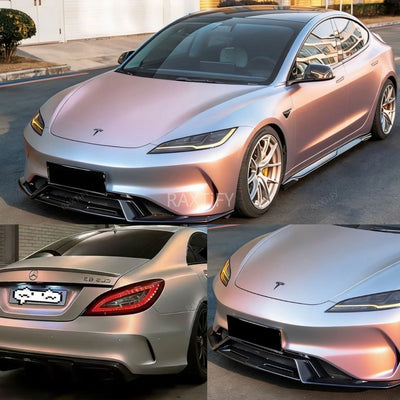
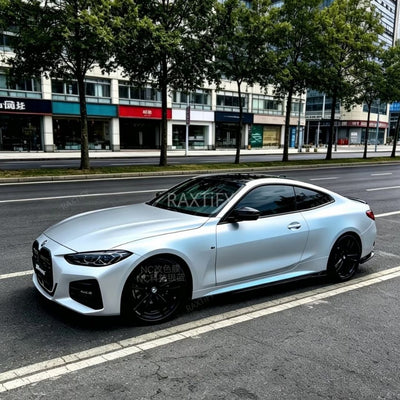
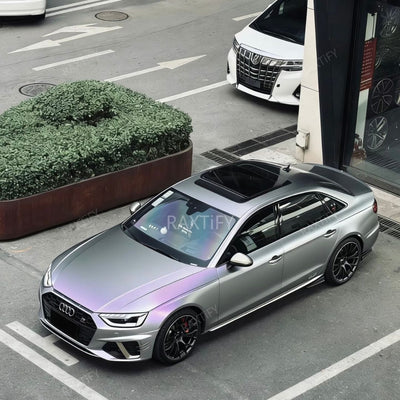
There are numerous vinyl wrap films available in the market, with chrome being particularly unique and favored for its distinct appearance. Understanding the specific properties of chrome film is crucial for achieving a flawless chrome finish.
Understanding Chrome Vinyl Installation
Installing chrome vinyl differs slightly from other types of vinyl due to its delicate nature. If you are a novice or lack sufficient experience in vinyl wrapping vehicles, it is best to leave the job to professionals. Here’s what you should know about chrome vinyl films:
-
Delicate Nature: Chrome vinyl is very vulnerable to damage. If not handled properly, it can easily crack or haze.
-
Tearing Risk: The film tears easily, posing difficulties during installation.
-
Application Pressure: While installing, you must apply the right amount of pressure. Overstretching or overheating can cause the vinyl to lose its mirror finish.
-
Susceptibility to Marks and Scratches: Chrome vinyl gets marks and scratches easily. It is recommended to use a soft and clean squeegee for its installation. When removing creases, avoid holding the squeegee at a high angle to prevent scratching the surface.
-
No Self-Healing Property: Chrome films do not self-heal. They are quite unforgiving; if they get scratched or marked, you cannot remove the defects with heat.
-
Careful Heat Application: Be very careful when applying heat to chrome vinyl. Do not use a propane torch; only use a heat gun and maintain a low temperature, as the film burns easily.
-
Non-Directional: Chrome vinyl is non-directional, meaning you can apply it in any direction and it will still look uniform.
Process of Installing Chrome Vinyl
Below is a detailed process for installing chrome vinyl on your cherished set of wheels:
Step 1: Prepare Your Vehicle for the Wrap
Before you start wrapping your car, ensure it is clean and free from dust. The surface should be completely free of contaminants and grease. Any dents or scratches should be fixed to prevent ruining the final look of the vehicle.
- Wash the Car: Thoroughly wash the car, including the wheels and all the small spaces like the wheel wells and under the wipers.
- Dry the Car: Use a microfiber cloth to dry the car completely.
- Clean with Isopropyl Alcohol: Clean complex parts such as panels, seams, and behind rubber seals using isopropyl alcohol.
Tip: It helps to remove parts like bumpers, mirrors, door handles, trims, number plates, emblems, grille apertures, tail lights, and headlights for a smooth wrapping experience.
Step 2: Cut the Chrome Vinyl
- Measure and Cut: Measure the different parts of the car and cut the chrome vinyl, adding 4-6 inches more than the actual size to allow for stretching and repositioning.
- Maintain Surface Temperature: Ensure the surface temperature of the car does not exceed 80°F, as higher temperatures can damage the film.
- Prepare the Panels: Once you have cut the chrome vinyl according to the panel size, you are ready to wrap.
Step 3: Apply the Vinyl
- Position the Film: Use magnets to hold the film in place. You will need an extra pair of helping hands for this step.
- Remove the Liner: Once the chrome film is in position, remove the liner that protects its surface. The liner prevents damage during transportation and must be removed to allow for repositioning and stretching of the film.
Step 4: Remove Creases with a Squeegee
- Prepare the Area: Moisten the area with a lubricant or soapy water in a spray bottle to make the squeegee glide smoothly on the wrap without causing any tears or marks.
- Use a Soft Squeegee: Hold the squeegee at roughly a 45° angle.
- Remove Wrinkles: Work in gentle strokes, pushing towards the edges of the panel to force out air and smooth out wrinkles and fingers in the vinyl.
Step 5: Trim Off the Extra Chrome Vinyl
- Trim Excess Wrap: Leave 10-20mm extra sheet around the edges.
- Heat the Edges: Use a heat gun to soften the edges and activate the adhesive.
- Stretch and Seal: Pull the vinyl taut to avoid wrinkles and stretch it under the edge. Seal the edges by applying firm pressure while still wearing gloves.
- Wrap Around Corners: Use a combination of heat and even pulling. Work in small sections and stretch only as much as needed. A helper is recommended for this step.
- Post Heating: Once all edges and corners are secured, gently go over everything with a heat gun to ensure a strong bond.
Conclusion
Installing a chrome vinyl wrap requires patience and attention to detail, but the stunning result is well worth the effort. By following these steps meticulously and using quality materials, you can achieve a professional-looking finish that enhances the appearance of your vehicle. Whether you're enhancing your personal ride or offering professional services, mastering this process will elevate your vinyl wrapping skills.
Ready to transform your vehicle? Explore our range of chrome vinyl wraps at RAXTiFY and discover endless possibilities for automotive customization.