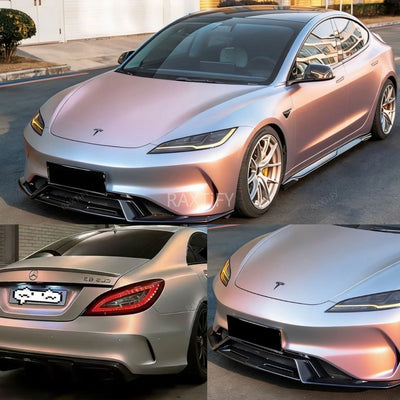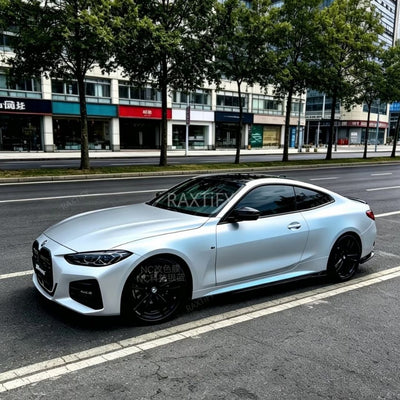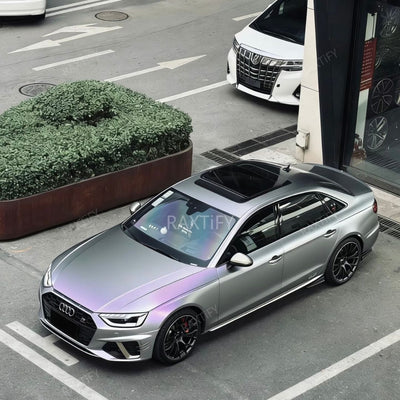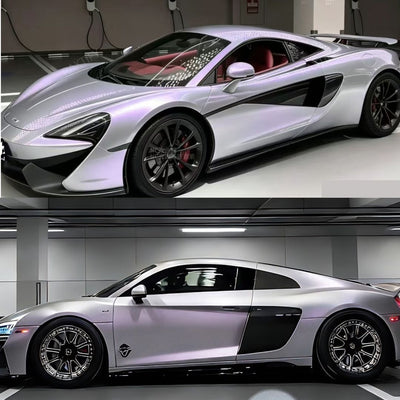


A car can be wrapped with vinyl and this is one of the best methods of transforming its outlook without necessarily investing in a permanent paint work. A vinyl wrap when properly applied can provide a finish that is close to that of the factory can also help preserve the paint under the wrap.
This guide is a step by step guide of how to vinyl wrap a car using established installation practice which is followed by professional installers. Whether it is your first car, or the technique, it is all the same, you just have to make your job easier, prevent errors, and get clean and long-lasting results.
Before You Start: Is Vinyl Wrapping Right for You?
It is also necessary to know what is involved in vinyl wrapping before taking any tools.
Vinyl wrapping is not challenging, however, it is detail-oriented. Majority of first-time installers did not think it takes a lot of time, preparation and patience. One will require one to two days of complete vehicle wrap, which will undoubtedly require further curing.
At least one other person should also be planned to work with. The additional hands ensure that it is easier to position a large panel and less material is wasted.
Normally it is best to have the professional install do the work in case you have little time or experience and want to have a perfect, paint-like finish. Nevertheless, to the DIYers that are concerned about learning and working diligently, wrapping a car with vinyl is within their reach.
Choosing the Right Vinyl Wrap for Your First Install
Not every vinyl acts similarly and in the wrong film it is quite possible to make a serious error which could lead to a major failure- particularly with new installers.

The most common entry-level color-change films to installers use are films that have been offered at entry-level by established wrap brands, e.g. the regular gloss or matte vinyl collections of Raxtify since they have the right balance between conformability and adhesive forgiveness. These types of films are intended to be repositioned several times when installing, which is why they are highly practical when it comes to DIY projects and wraps that are done the first time.
Vinyl that contains extremely aggressive adhesives, ultrathin construction or specialty finishes such as chrome and mirror finishes, by contrast, emphasize minor errors. These are materials that need accurate heat regulation and high skill and are not something that should be left to novices.
Tools &Materials Checklist for Vinyl Wrapping a Car
Essential Tools
- Vinyl wrap film
- Felt-edged squeegee
- Sharp cutting blade or knifeless cutting tape
- Isopropyl alcohol (IPA)
- Clean microfiber towels
- Heat gun
- Gloves
Strongly Recommended Tools
- Infrared thermometer (for safe heat control)
- Measuring tape
- Small magnets or positioning clamps
Optional but Helpful
- Wrapstick or edge-tucking tools
- Clay bar or synthetic decontamination pad
Surface Preparation: The Most Critical Step
Professional installers concur that surface preparation will decide up to 80 percent wrap success.
Step 1: Repair Visible Defects
Vinyl will not conceal the dents, rust, peeling paint, and deep scratches. When wrapping, any defects of the surface will be seen and this could decrease adhesion.
Step 2: Thorough Wash
Clean the car up in top to bottom with a light detergent. Separate tools should be used on wheels since the risk of reintroducing contaminants may occur.
Step 3: Decontamination (Clay Bar)
A clay bar is used to remove the particles embedded and not washed off. This step forms a smooth surface that is necessary in the bonding of the vinyl.
Step 4: Alcohol Wipe
Wipe any panel with IPA to remove oil and residues. Wax, polish or sealants should be avoided at all costs.
The Squeaky Finger Test
Wipe a clean finger on it. When one hears a squeaky sound, the panel is clean and grease free.
Should You Remove Parts Before Wrapping?
By taking off exterior elements like mirrors, door handles, badges, lights, and trim, the vinyl is able to go all the way round the sides of the panel which greatly enhances adhesion and the long-lasting life of the product.
Although technically, wrapping a vehicle without removing these parts is possible, it will incur a higher level of skill and leads to shorter edge lifespan and cut lines much more likely to be visible. Particularly in the case of DIY long-term splash, where one is being educated on how to wrap a car in vinyl, partial disassembly is highly suggested to obtain cleaner finishes and more consistent outcomes.
Measuring and Cutting Vinyl Correctly
Measure the panels separately and apply 4-6 inches of additional vinyl on all sides. This margin gives the possibility of repositioning and wrapping of edges without strain.
How To Apply Vinyl Wrap: Panel-by-Panel Method
Recommended Order for Beginners
- Doors
- Hood
- Roof
- Quarter panels
- Bumpers (most complex, save for last)
Application Technique
- Position the vinyl with light tension
- Peel backing gradually
- Squeegee from the center outward using overlapping strokes
At this stage, vinyl remains repositionable. Adjustments are normal and expected.
Removing Wrinkles, Creases, and Air Pockets
If wrinkles appear:
- Gently lift the vinyl
- Apply moderate heat
- Allow the film to relax before reapplying
Avoid overstretching, which can cause color distortion or gloss loss.
Wrapping Curves and Recessed Areas
Curves need regulated heat and forbearance. Heat the vinyl slowly keeping track of the temperature using an infrared thermometer. Too much heat or pressure may permanently destroy the film. Always adhere to the ranges of temperatures recommended by the manufacturers.
Hidden Seams
Cutting butt joints using knifeless cutting tape to make clean butt joints with a minimum overlap with no exposed cut marks.
Edge Tucking
Cut the just unnecessary vinyl, heat it, and push the vinyl on the edges. Lifting is avoided by proper edge sealing
Post-Heating: Locking the Wrap in Place
Post-heating is an option that you cannot skip in case you want your vinyl wrap to be held up in the long run. This is one of the most frequently overlooked steps that causes wrap failures on edges and other areas of strain.
Vinyl is pulled and rearranged during the installation process. Heating the film again erases its memory and the adhesive bonds completely and does not entrap the material. This is particularly important on extended panels, edges, corners, and seams, and recesses. The vinyl cannot be repositioned once post-heated to the recommended temperature of the manufacturer.
As an example, a bumper or an acute corner might appear completely smooth immediately after being installed. Nonetheless, the vinyl usually starts peeling off in a few days without proper post-heating, particularly, after being exposed to the sun or taken to a car wash. These are always post-heated by professional installers before the vehicle is cured in the house to take 24-48 hours, so that the wrap is not affected and becomes firm.
Aftercare: Maintaining Your Vinyl Wrap
Adequate care within the initial couple of weeks will determine the viability of the vinyl wrap in the long term.

Once installed, a vehicle should not be washed within 7 days, and this time is required to allow adhesive to dry out completely. In cases where cleaning is in order then hand washing should be used only. High-pressure water and auto car wash around edges or seams may erode adhesion and prematurely lift up. Regular and mild attention is used to keep the wrap intact and long-lived.
Common DIY Mistakes Checklist
The same preventable problems still occur with first-time installers, even with a step-by-step guide. The awareness of such errors will save time, material and frustration.
Skipping proper surface preparation: The most frequent cause of lifting edges and trapped debris is rushing cleaning or omission of decontamination.
Overstretching the vinyl: Overstretching may affect color, gloss as well as lead to shrinking of the film once in place.
Using too much heat too early: Excessive heat causes the vinyl to be soft enough too soon and hard to manipulate and it is more likely to be damaged permanently..
Not post-heating stress areas: To avoid the failure of the film, edges, corners, and recessed areas have to be post-heated to recalibrate the memory of the film. .
Starting with complex panels first: Trying bumpers or deep curves prior to experience in flat panels is highly likely to result in wastage of material.
Frequently Asked Questions
Q1. Can a beginner vinyl wrap a car by themselves?
A: Yes, beginners are able to wrap a car in vinyl, however, it is based on results of patience and preparation. Hoods, doors and flat panels are easier to begin with and bumpers and curves take more experience. Most beginners installers train on small areas then they may attempt a complete wrap.
Q2. How long does it take to vinyl wrap a car?
A: The time that a professional wrap typically consumes is 2-4 days. To a beginner of DIY, it can take up to a weekend to more than a week to wrap a car in vinyl depending on the level of skills, the size of the vehicle and time taken to rectify the errors made.
Q3. How hard is it to vinyl wrap complex areas like bumpers?
A: The hardest part of wrapping a car with vinyl is the bumpers because of curves, recesses, and vents. These are the places, where heat control, technique of stretching are needed, and inlays, maybe.
Q4. How long does a vinyl wrap last after installation?
A: With proper care, a vinyl wrap usually lasts 2-3 years. Factors such as sun exposure, climate, washing habits, and installation quality all influence how long the wrap maintains its color and adhesion
Q5. What is the biggest mistake people make when wrapping a car?
A: The error most prevalent is lack of good surface preparation. Bubbles, lifting edges, and reduced wrap life is usually caused by skipping cleaning, hastening the cleaning process or overheating the vinyl.
Final Thoughts
Learning how to vinyl wrap a car is a process, not a shortcut. With proper preparation, controlled technique, and realistic expectations, DIY installers can achieve clean, durable, professional-level results while preserving the original paint.