
What is Car Wrapping
Car wrapping is a popular and cost-effective method of transforming the appearance of a car. The process involves applying a vinyl film to the car's body, which can be customized in any color or design. Car wrapping is often used for personalization, advertising, or to protect the car's original paint from fading, scratches, and other damage caused by weather conditions and debris on the road.

In recent years, car wrapping has become increasingly popular due to its versatility, affordability, and ease of installation. In this guide, we will provide a comprehensive step-by-step DIY guide on how to vinyl wrap a car, including a list of materials, tools, and techniques needed to achieve a professional-looking wrap. Whether you're a car enthusiast looking to customize your ride or a business owner looking for an effective advertising solution, this guide will give you all the information you need to successfully wrap your car.
Factor of Car Wrapping
There are several factors to consider when it comes to car wrapping.

Materials and Tools: We will talk about the different types of vinyl wrap, cutting tools, and heat guns.
Car Preparation: Spot, Weather, Washing, drying, and sanding.
Vinyl Wrap Installation
Measuring and cutting the vinyl wrap to size
Applying the vinyl wrap to the car
Using a heat gun to stretch and mold the vinyl wrap
Pressing out air & wrinkles
Trimming the excess vinyl wrap
Finishing Touches: Discuss the importance of final trimming and detailing, as well as reinstalling any hardware or trim pieces that were removed during the car wrapping process.
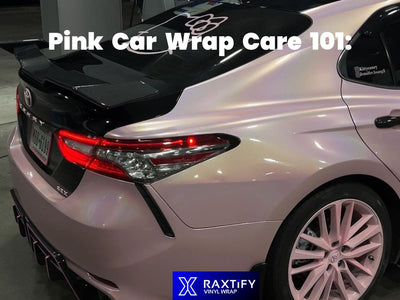
Maintenance and Care: Provide tips for maintaining and caring for the vinyl wrap, including proper cleaning techniques and avoiding harsh chemicals.
Different Types of Vinyl Wrap
Cast Vinyl Wrap: Cast vinyl wrap is the most commonly used type of vinyl wrap for car wrapping. It is installed by first cleaning and preparing the car's surface, then carefully applying the vinyl wrap to the car's body using a squeegee, heat gun, and other tools. Cast vinyl wrap is generally easier to install than other types of vinyl wrap due to its flexibility and ability to conform to the car's surface.

Calendared Vinyl Wrap: Calendared vinyl wrap is a less expensive alternative to cast vinyl wrap, but is generally more difficult to install. It is installed in a similar way to cast vinyl wrap, by cleaning and preparing the car's surface and then applying the vinyl wrap using a squeegee and heat gun. However, calendared vinyl wrap is thicker and less flexible than cast vinyl wrap, which can make it more difficult to conform to the curves and edges of the car's surface.

Textured Vinyl Wrap: Textured vinyl wrap has a patterned surface that can add depth and dimension to the car's appearance. Textured vinyl wrap is installed in the same way as cast vinyl wrap, but may require additional heat and stretching to properly conform to the car's surface. The texture of the vinyl wrap can also make it more difficult to remove air bubbles and wrinkles during installation.
Printed Vinyl Wrap: Printed vinyl wrap can be customized with any design or image and is installed in the same way as cast vinyl wrap. However, printed vinyl wrap may require additional care to ensure that the design is properly aligned and positioned during installation.
Tools Needed for Vinyl Wrapping
Cutting tools: A sharp utility knife or vinyl cutter is needed to cut the vinyl wrap to size.

Heat gun: A heat gun is used to soften the vinyl wrap and make it easier to mold around curves and edges.
Squeegee: A squeegee is used to smooth out the vinyl wrap and remove any air bubbles.
Spray bottle: A spray bottle is used to apply the cleaning solution to the car's surface.
Gloves: Gloves are recommended to protect your hands from the cleaning solution and adhesive.
Masking tape: Masking tape is used to hold the vinyl wrap in place while cutting and to mark any areas that need to be trimmed.
Cutting mat: A cutting mat is used to protect the surface underneath while cutting the vinyl wrap.
Car Preparation
Spot: Choose a spot with a roof or a garage to work on your vehicle. A dry, well-ventilated area is ideal for vinyl wrapping. Avoid working in direct sunlight or extreme temperatures, as this can affect the quality of the vinyl wrap
Washing and drying the car: Before starting the vinyl wrapping process, it's important to thoroughly wash and dry the car. This will remove any dirt, grime, or debris that may interfere with the vinyl wrap's adhesion. Use a mild soap and water to wash the car, and then dry it with a microfiber towel or chamois.
Removing any old vinyl or stickers: If there is any existing vinyl or stickers on the car, it's important to remove them before applying the new vinyl wrap. Use a heat gun or hair dryer to warm up the old vinyl or sticker, and then carefully peel it off.
Removing any surface contaminants: Before applying the vinyl wrap, it's important to remove any surface contaminants that may interfere with adhesion. Use a surface cleaner or isopropyl alcohol to remove any wax, grease, or oil from the car's surface.
Sanding any rough spots or edges: If there are any rough spots or edges on the car's surface, it's important to sand them down before applying the vinyl wrap. Use a fine-grit sandpaper to smooth out any rough areas.

Removing any hardware or trim pieces: To ensure a clean and professional-looking vinyl wrap, it's important to remove any hardware or trim pieces that may interfere with the vinyl wrap's adhesion. Use a pry tool or screwdriver to carefully remove any clips or fasteners holding the trim pieces in place.

Vinyl Wrap Installation
Measure and Cut the Vinyl Wrap: Measure the areas of the car that need to be covered with vinyl wrap, here is the size for different car. Then hen cut the vinyl wrap to size using a sharp utility knife or vinyl cutter. Leave a few inches of excess vinyl wrap around the edges to allow for trimming later.

Clean the Car Surface: Thoroughly clean the car's surface using a cleaning solution and a microfiber cloth to remove any dirt, grime, or debris. Make sure the surface is completely dry before proceeding to the next step.
Liquid Soap Solution: Create a mixture of water and a few drops of liquid soap in a spray bottle. This solution will act as a lubricant and allow for better maneuverability of the film during installation. The liquid soap only coulbe been used on smooth surface, pls dont used on curve.
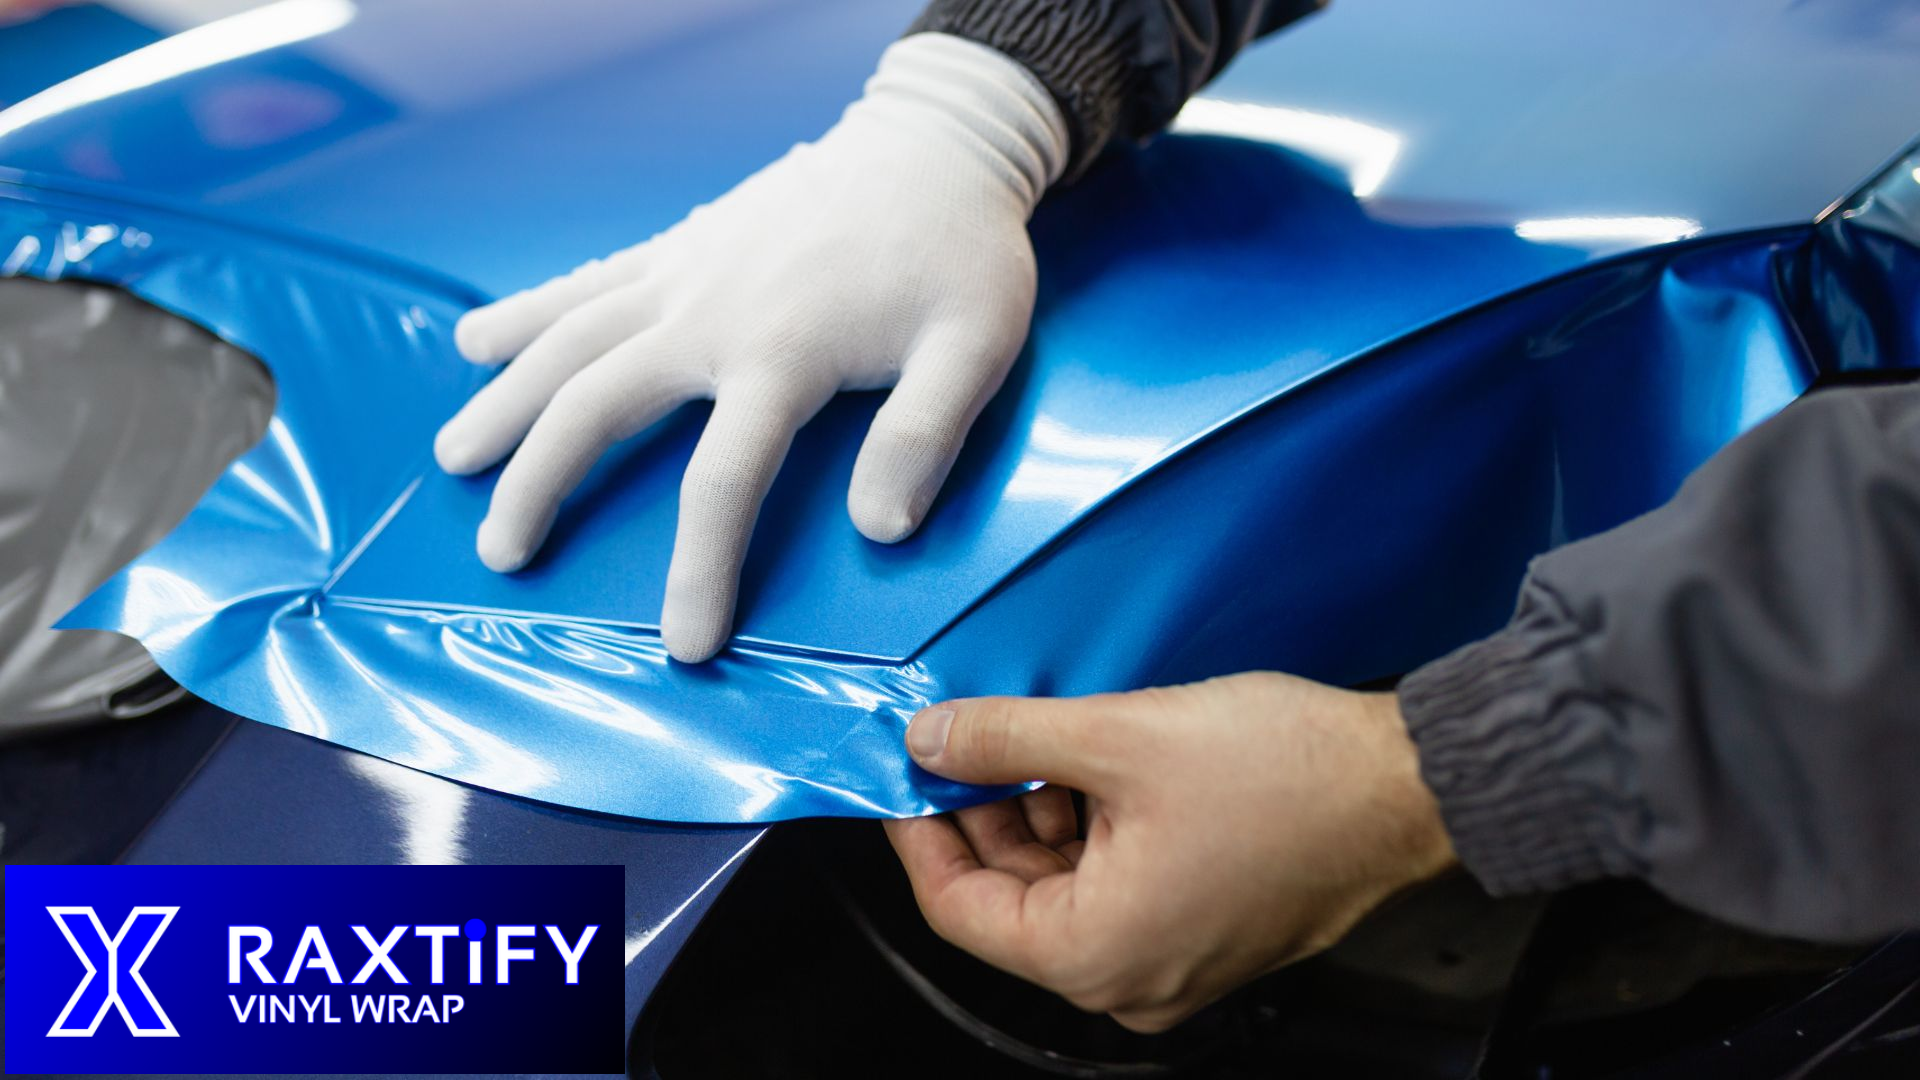
Apply the Vinyl Wrap: Carefully apply the vinyl wrap to the car's surface, starting from one end and working your way to the other. Use a squeegee to smooth out the vinyl wrap as you go, making sure to press out any air bubbles or wrinkles.

Use a Heat Gun to Stretch and Mold the Vinyl Wrap: Use a heat gun to heat up the vinyl wrap, making it more pliable and easier to mold around curves and edges. Be careful not to overheat the vinyl wrap, as this can cause it to shrink or warp.As you work, if you note wrinkles or bubbles, gently peel back the vinyl and apply heat, no more than 120 °F (80 °C), and tension to stretch it into place.

Press Out Air Bubbles and Wrinkles: Use a squeegee to press out any air bubbles or wrinkles in the vinyl wrap, working from the center outwards. Be sure to apply firm pressure to ensure a smooth and even application.

Trim the Excess Vinyl Wrap: Once the vinyl wrap is applied to the car's surface, use a sharp utility knife or vinyl cutter to trim off the excess vinyl wrap around the edges. Be careful not to cut too close to the car's surface, as this can damage the vinyl wrap or the car's paint.Use the heat gun to evenly heat the edges of the panel and vinyl wrap to at least 257 °F (125 °C)
Finish and Inspect: Once the excess vinyl wrap is trimmed, use a heat gun to reheat and smooth out any remaining wrinkles or air bubbles. Inspect the vinyl wrap for any imperfections or areas that may need to be touched up, and make any necessary corrections.

Finishing Touches
Finishing touches are an important part of the vinyl wrapping process, as they help ensure a clean and professional-looking result. Here are some important finishing touches to consider:
Final Trimming: After the vinyl wrap is applied to the car surface, it's important to perform a final trimming to remove any excess vinyl wrap around the edges. Use a sharp utility knife or vinyl cutter to carefully trim the excess vinyl wrap, being careful not to cut too close to the car's surface.
Detailing: Once the vinyl wrap is applied and trimmed, it's important to perform a final detailing to ensure a clean and polished finish. Use a detailing solution and a microfiber cloth to clean and shine the car's surface, paying close attention to any areas that may have been missed during the vinyl wrapping process.

Reinstalling Hardware or Trim Pieces: If any hardware or trim pieces were removed during the vinyl wrapping process, it's important to reinstall them properly. Use a pry tool or screwdriver to carefully reattach any clips or fasteners, making sure they are securely in place.
Maintenance and Care
Wash the Vinyl Wrap Regularly: Regularly washing your vinyl wrap can help remove dirt, grime, and other contaminants that can damage the vinyl wrap. Use a mild soap and water to wash the vinyl wrap, and then rinse it thoroughly with a hose. Avoid using high-pressure washers or abrasive brushes that can damage the vinyl wrap.
Avoid Harsh Chemicals: Harsh chemicals, such as bleach, solvents, and petroleum-based products, can damage the vinyl wrap and cause it to fade or deteriorate. Avoid using these types of chemicals on the vinyl wrap, and use only products that are specifically designed for cleaning vinyl wraps.
Don't Let Contaminants Sit on the Vinyl Wrap: If you notice any bird droppings, tree sap, or other contaminants on the vinyl wrap, it's important to remove them as soon as possible. These contaminants can damage the vinyl wrap if left sitting for too long.
Use a Soft Cloth or Sponge: When washing the vinyl wrap, use a soft cloth or sponge to avoid scratching or damaging the vinyl wrap. Avoid using abrasive materials, such as steel wool or scrub brushes, which can damage the vinyl wrap.

Avoid Parking Under Trees: Parking your car under trees can expose the vinyl wrap to sap, bird droppings, and other contaminants that can damage it. Whenever possible, park your car in a covered or enclosed area to protect the vinyl wrap.

FAQ
Q:Can I vinyl wrap my car myself?
A:Yes, you can vinyl wrap your car yourself, but it requires skill, patience, and the right tools.
Q:Can I put my wrapped car through a car wash?
A:It is generally not recommended to put a vinyl wrapped car through an automatic car wash with brushes, as the brushes can damage the vinyl wrap and cause it to peel or lift.
Additionally, it's important to wait at least 1 week after installing the vinyl wrap before washing the car to allow the vinyl to fully adhere to the car's surface.
Q:How long does vinyl wrap last?
A:Depending on the quality of the wrap, type of vinyl wrap, care taken during installing, care after installation, and environmental factors, car wraps can last from three to ten years.
Final Words
In conclusion, vinyl wrapping is a great way to customize the appearance of your car and protect its paint from damage. The vinyl wrapping process involves several steps, including car preparation, measuring and cutting the vinyl wrap, applying the vinyl wrap using a squeegee and heat gun, pressing out air bubbles and wrinkles, trimming the excess vinyl wrap, and performing finishing touches such as final trimming, detailing, and reinstalling any hardware or trim pieces that were removed.
Proper maintenance and care are also important for keeping your vinyl wrap looking great and lasting as long as possible. This includes regular washing with mild soap and water, avoiding harsh chemicals, and being gentle and careful when cleaning the vinyl wrap.
Overall, vinyl wrapping can be a fun and rewarding DIY project, but it can also be a complex process that requires a certain level of skill and experience. If you're not comfortable doing it yourself, it's always a good idea to consult with a professional vinyl wrap installer who can help ensure a quality result. With proper installation and maintenance, a vinyl wrap can transform the appearance of your car and provide long-lasting protection for its paint.

Related Resources:
How Much Does It Cost To Wrap A Car?
How Much Vinyl Do I Need For A Car?