Introduction
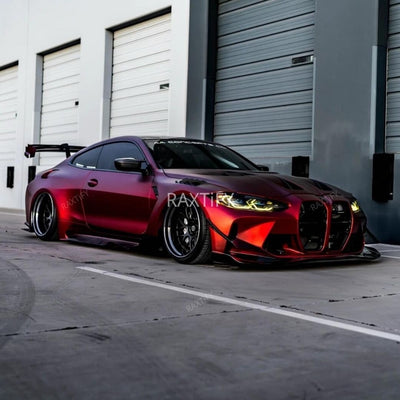
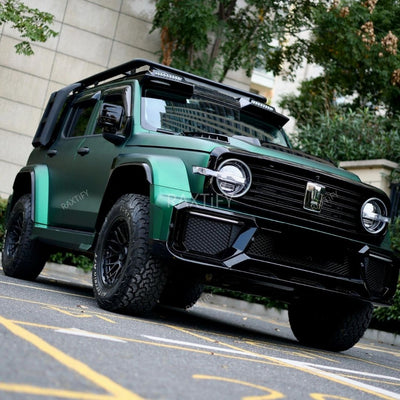
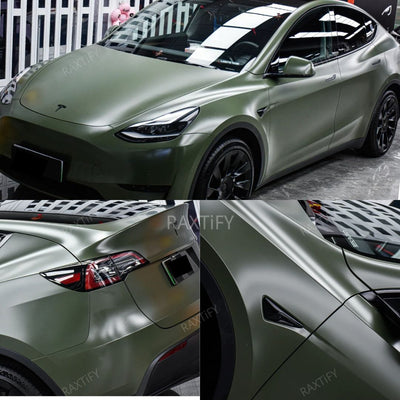
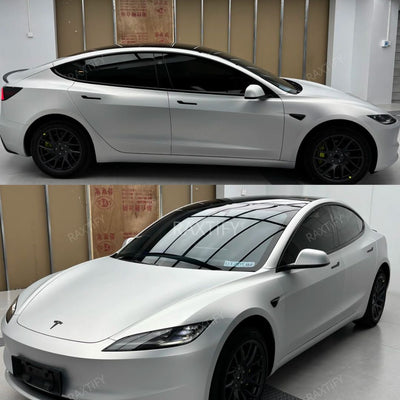
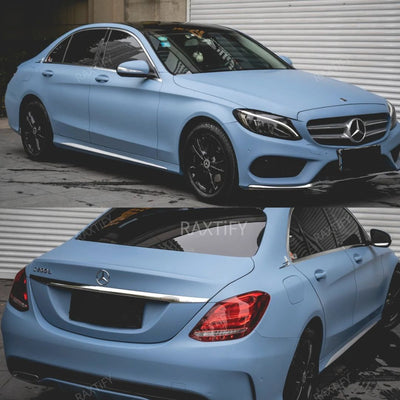
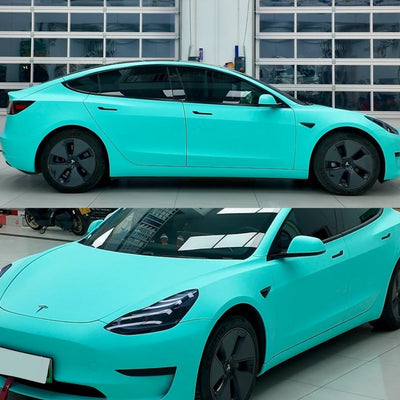
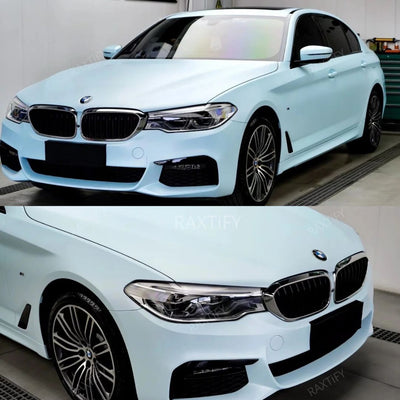
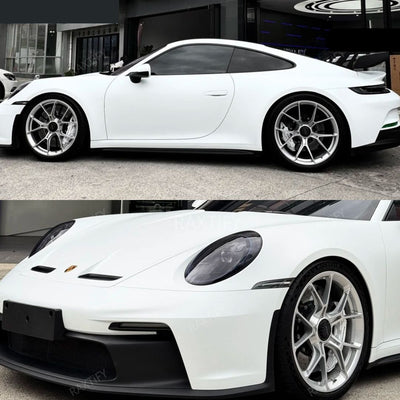
Your car is more than just a means of transportation—it represents your identity, status, and a valuable possession. Unsurprisingly, the visual appeal of your car holds significant importance to you as an owner. With the introduction of vehicle wrapping, the opportunities for personalization have expanded substantially. Wrapping your car opens up a spectrum of choices, including colors, finishes, textures, and patterns, allowing for creative customization.
Why consider wrapping your car?
There are several compelling reasons to wrap your car, with customization being the foremost. Wrapping provides the flexibility to personalize your vehicle's appearance, whether you prefer a sleek chrome finish or an elaborate decal on the bumper. The versatility of vinyl wrapping allows you to opt for a full or partial wrap, giving you full control over the design.
Another emerging trend is using car wraps as a form of advertising, offering a unique opportunity to enhance brand visibility and attract a diverse customer base. Beyond aesthetics, many car owners choose wrapping for protective reasons. The application of protective films shields vehicles from daily wear and tear, adverse weather conditions, and helps maintain their resale value over time.
Vinyl Application on Automotive Components
Car wrapping comes in two main methods: a complete exterior coverage using a single vinyl film or a partial application that focuses on specific vehicle parts. The choice is yours, but the process varies slightly when opting for a partial wrap.
Prior to initiating the wrapping process, ensure accurate measurements of each corner where the vinyl will be applied. Knowing the dimensions is crucial for estimating the required vinyl amount and avoiding unnecessary waste. To ensure a smooth wrapping procedure around the edges, the vinyl is cut slightly larger than the measured dimensions.
Subsequently, thorough cleaning of the car is paramount. Eliminate any dirt, debris, or remnants of car wax that might hinder the wrap's adhesion. Precision in this step is key to a successful application.
Equip yourself with essential tools to facilitate a seamless process: a squeegee for eliminating air bubbles and creases, a heat gun for ensuring a strong adhesion, surface cleaner for exterior cleaning, a microfiber cloth, small magnets for precise wrap positioning, a blade for wrap removal after installation, and a tape measure for accurate dimensions. Following these steps ensures a precise and effective vinyl application on your car's components.
Door Handles
To kick off your vinyl wrap application, start by detaching the door handle from the rest of the car body. This step ensures precise wrapping of the handle. Prepare two sizable vinyl wrap pieces to cover the front and underside of the handle. Prior to wrapping, eliminate any seals, plastic coverings, and, if feasible, detach the key barrel. Thoroughly clean the handle with a microfiber cloth and alcohol.
After allowing the handle to dry, employ sandpaper to smooth out any paint imperfections. Now, you have a pristine surface to work on. Apply the vinyl wrap onto the handle, smoothing it down with a squeegee. Ensure a bubble-free finish by tucking the wrap underneath and smoothing it out. Trim any excess vinyl, and use a heat gun to shape the wrap to the handle's contours. Your door handle is now ready for reinstallation.
Door Panels
For a flawless result, start by detaching the door panel from the rest of the car body. Ensure the handles are also removed to prevent any obstacles. The cleaning procedure remains consistent. Just ensure the surface is free from dirt or scratches that could impede the adherence of the wrap. Due to the larger surface area of the door panel, a greater amount of vinyl is needed.
Measure the length and width of the panel and cut the vinyl accordingly, leaving a slight margin. This margin facilitates the wrapping around every nook and corner of the panel. Smooth out the vinyl with a squeegee, then utilize a heat gun for a secure seal. After completing the process, you can reattach the panel to its original position.
Bumpers
Wrapping a bumper can be challenging due to its expansive surface. It's advisable to tackle it in smaller sections rather than attempting to cover it in one go. Divide the bumper into manageable portions and apply the wrap accordingly. Use heat to conform the vinyl to the car's contours for proper adherence. To minimize bubbling, run a squeegee over the wrapped vinyl, and trim off any excess with a knife.
Mirror and Side Skirt Customization
Enhancing your car's appearance is easy with customized wing mirrors and side skirts. These simple steps will help your vehicle stand out without much hassle.
Wing Mirrors: Transforming your car's wing mirrors adds a touch of individuality. Begin by removing the mirror, ensuring a thorough cleaning before applying the vinyl wrap. Before application, use tape to secure the mirror, facilitating an easy process. Lastly, use a heat gun over the tape to seal the wrap and activate adhesion.
Side Skirts: Personalizing side skirts with vinyl decals or wraps can give your car an edgier look. Start by removing the side skirts and any screws, then clean both the outside and inside surfaces. Smooth out the surface, measure it, and cut an appropriate amount of wrap accordingly. Lay the side skirt flat and apply the wrap, securing it in place with a heavy object for proper positioning. If there are curves or edges, make cuts in the vinyl to ensure a smooth finish. Seal the vinyl in place using a heat gun, and you're done!
Customizing your wing mirrors and side skirts is a straightforward way to add flair to your vehicle, making it stand out on the road.
Frequently Asked Questions
Q: Is it possible to wrap plastic car components?
A: Wrapping unpainted plastic is not recommended, as the wrap may not adhere properly. However, if the car parts are already painted, wrapping can be easily done without any issues.
Q: What is the lifespan of vinyl wraps?
A: With proper maintenance, keeping wraps clean and shielded from harsh weather and chemicals, they can last up to 3 years. The duration also relies on the quality of the vinyl wrap, so it's essential not to compromise on the quality. Over time, you might consider changing the car's appearance, making a prolonged wrap unnecessary.
Q: Can wraps cause damage to car parts?
A: Vinyl wraps serve as a protective layer for the car paint, contributing to its overall durability. Additionally, investing in a protective wrap enhances the car's resale value. You can rest assured that vinyl wraps are easily removable and won't cause any harm to the car parts.
Conclusion
Opting for a car wrap proves to be a wise choice, adding both style and endurance to your vehicle. The ability to personalize the wrap allows for a unique touch, as different car parts can be wrapped in various hues. Your creativity plays a crucial role; imagine chrome black for wing mirrors and door handles, or matte black for bumpers. To maximize your investment, safeguarding your car wrap is paramount.
Steer clear of prolonged exposure to intense sunlight and harsh chemicals, and avoid waxing the wrap. By taking these precautionary measures, your car wrap will stand the test of time, maintaining its allure for years to come!


